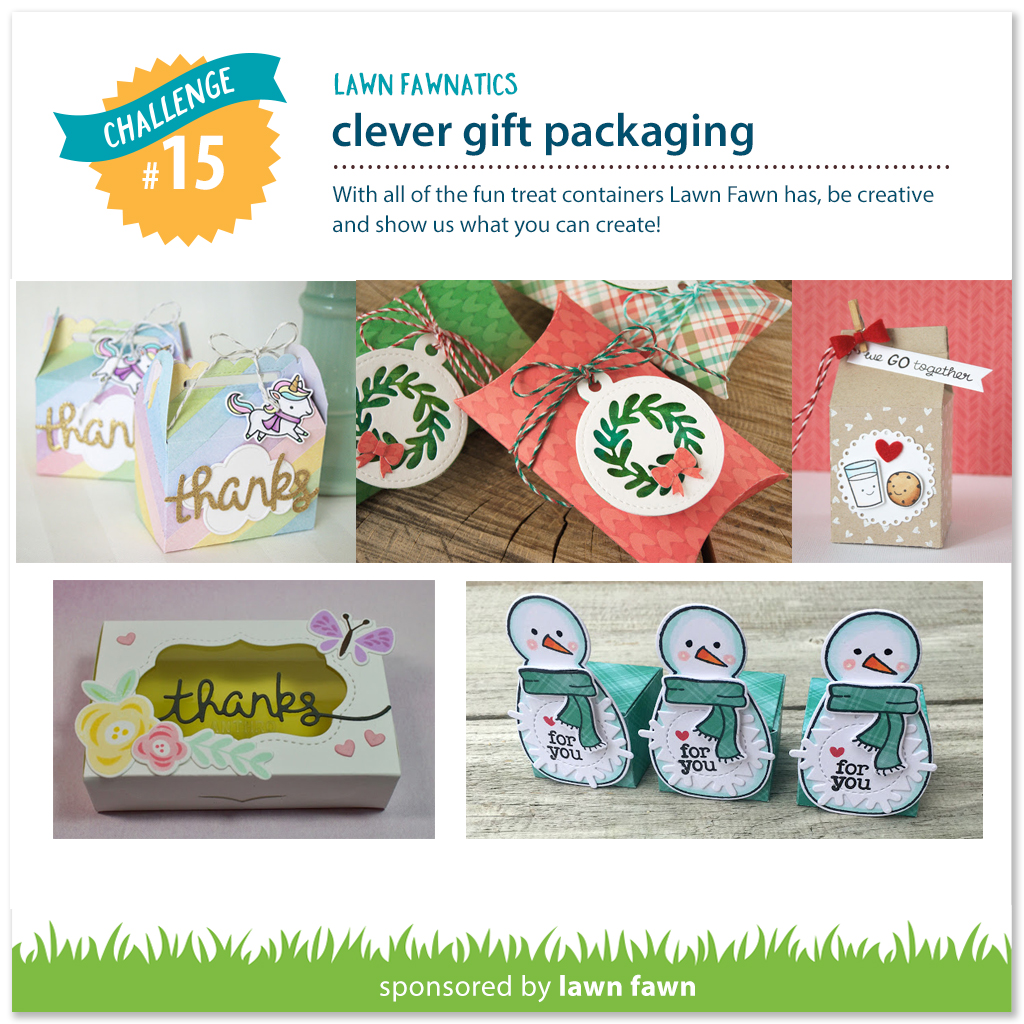
Karin’s Milk Carton Gift Box!

Challenge 15  is open until Sunday, November 5 at 11:59 PM ET

If you are new to our challenges please click on the How to Play tab above for our guidelines. We are happy you are here and hope you will join in the fun!

Now Karin shares some clever gift packaging to inspire your weekend crafting!
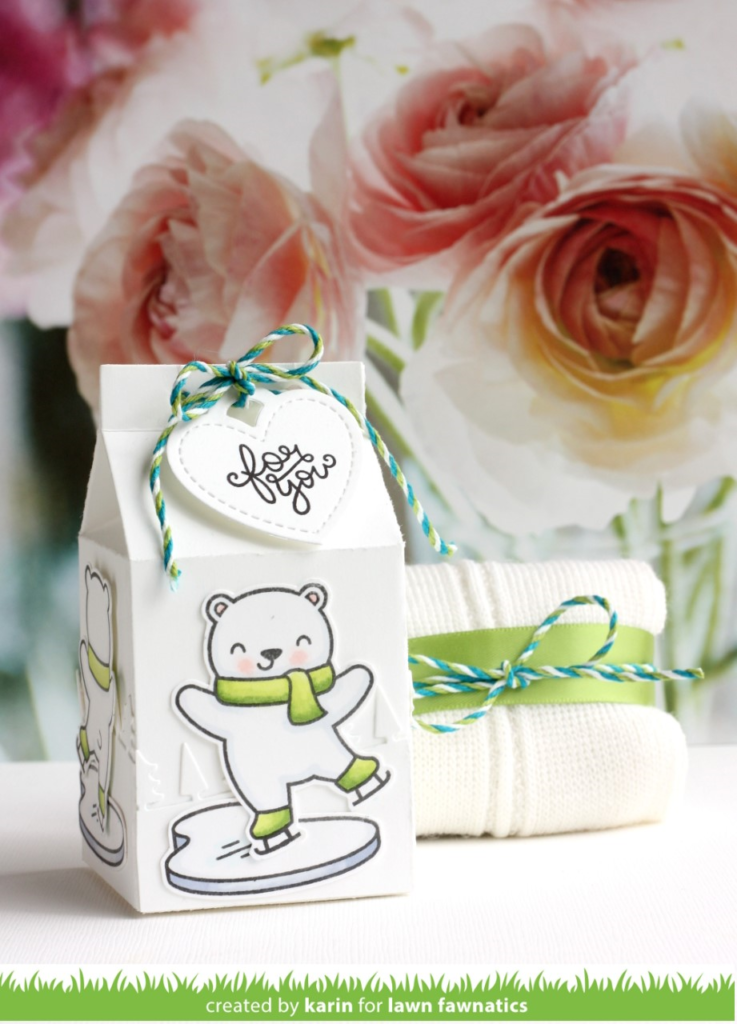
How cute is this Milk Carton gift box?!! The skating bear from Beary Happy Holidays takes center stage on Karin’s adorable design!
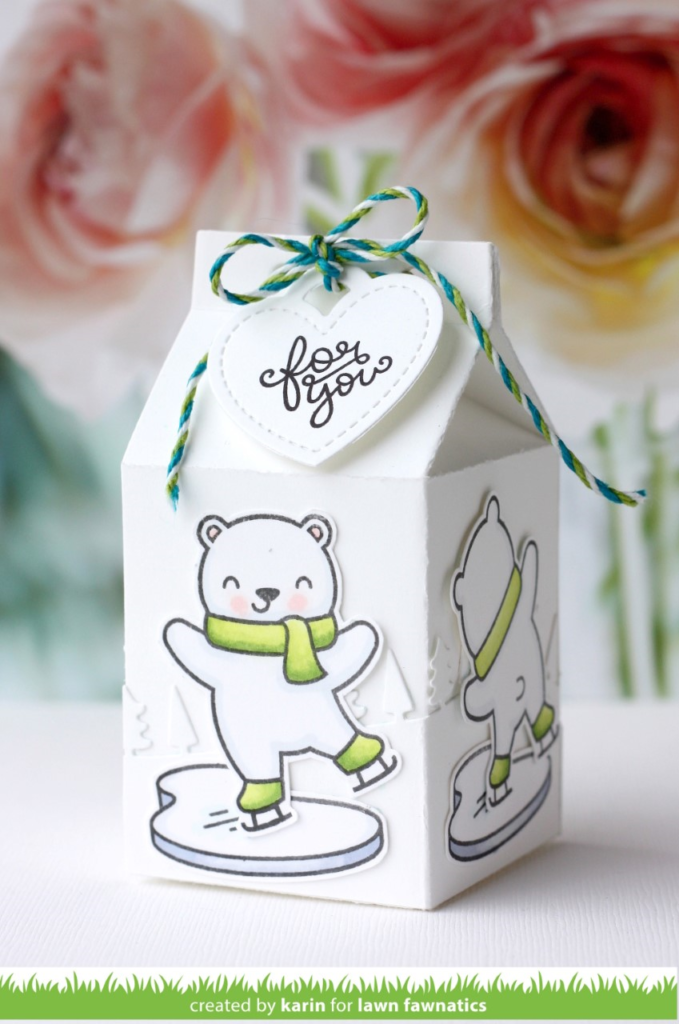
Karin created a pretty tone-on-tone design by layering Forest Border die cut from white cardstock on a white milk carton! The white Tiny Tag is a cute accent as well! Karin used our signature Lawn Fawn twine to add a bow to the top of her Milk Carton. If you have ordered online from us at lawnfawn.com you know we tie up your orders with this colorful twine!
Thank you so much for sharing this adorable inspiration with us today, Karin!

There is still time to play in our current Clever Gift Packaging challenge! This challenge closes Sunday night November 5 at 11:59 PM  PT. We can’t wait to see your creativity!
Happy Crafting!

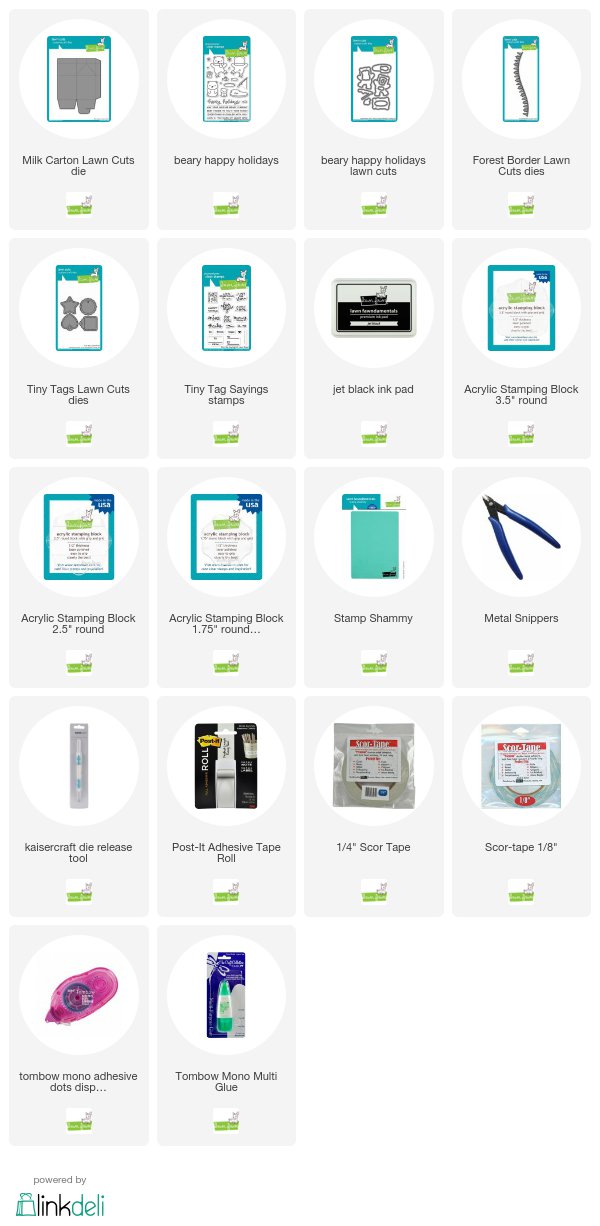
Supplies:

A Snowy Pop-Up Scene with a Glowing Street Lamp by Jessica

Open until 11:59 PM ET Sunday, Sept 17th

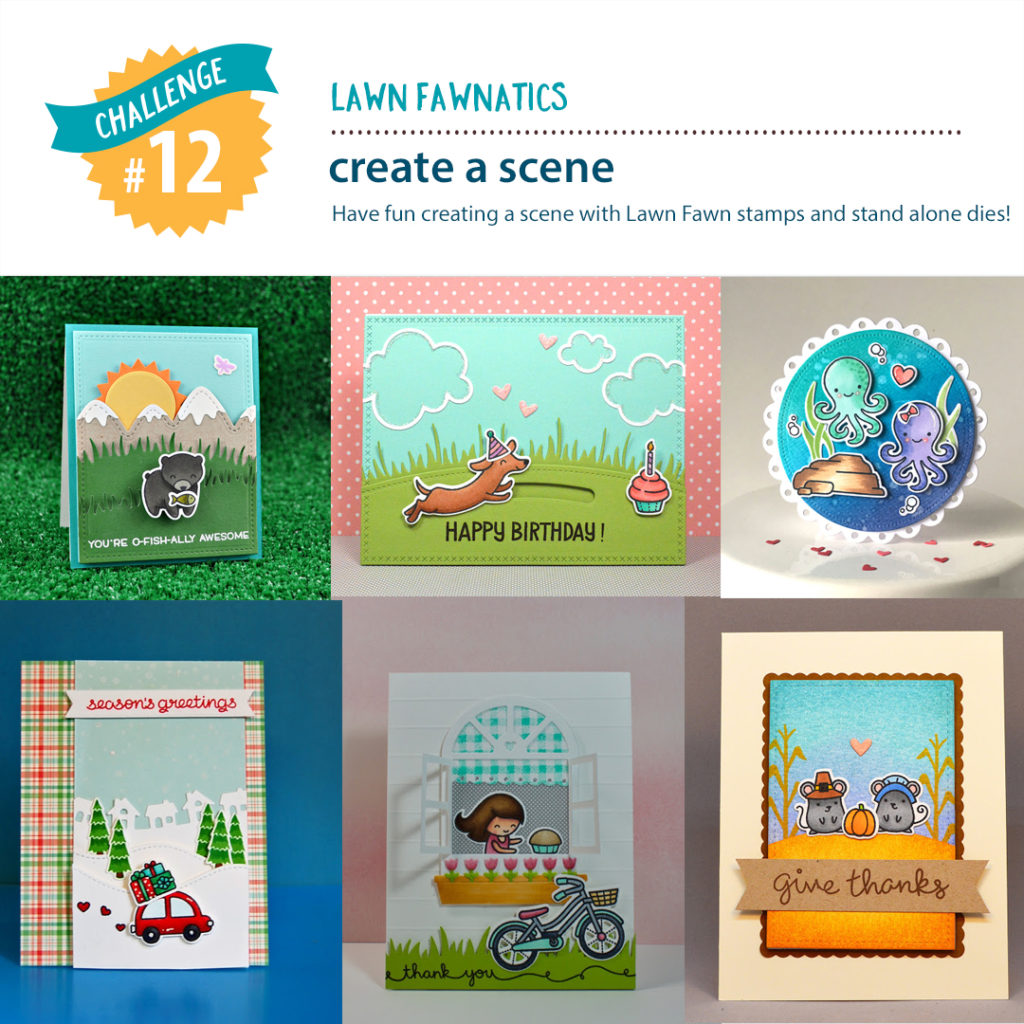
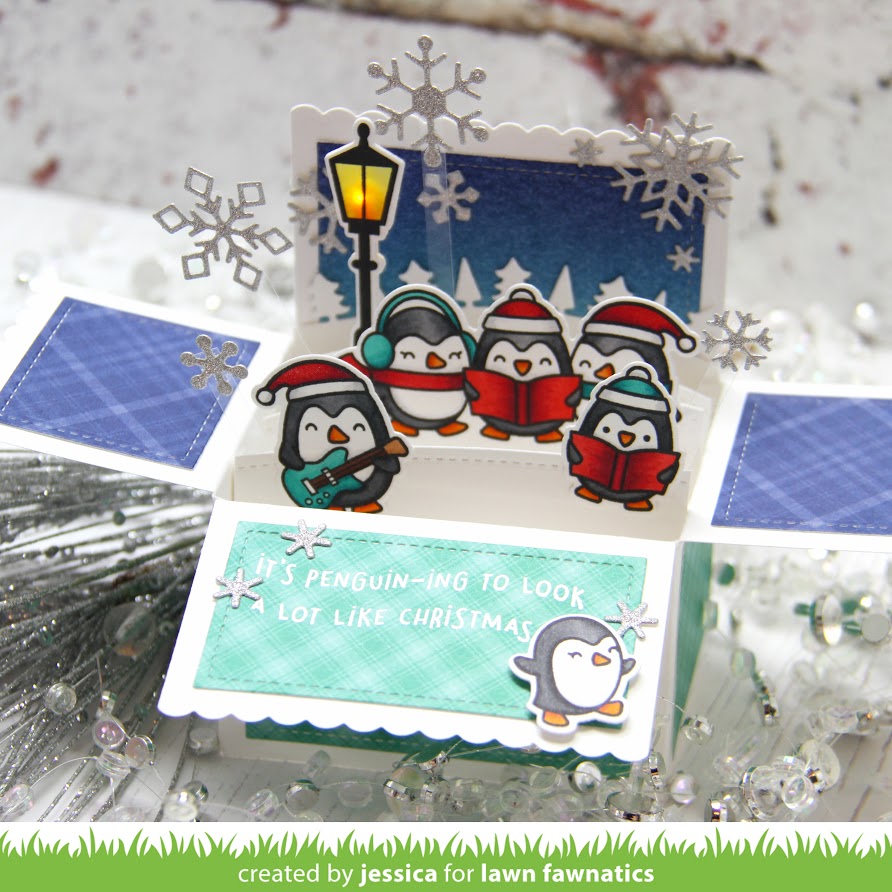
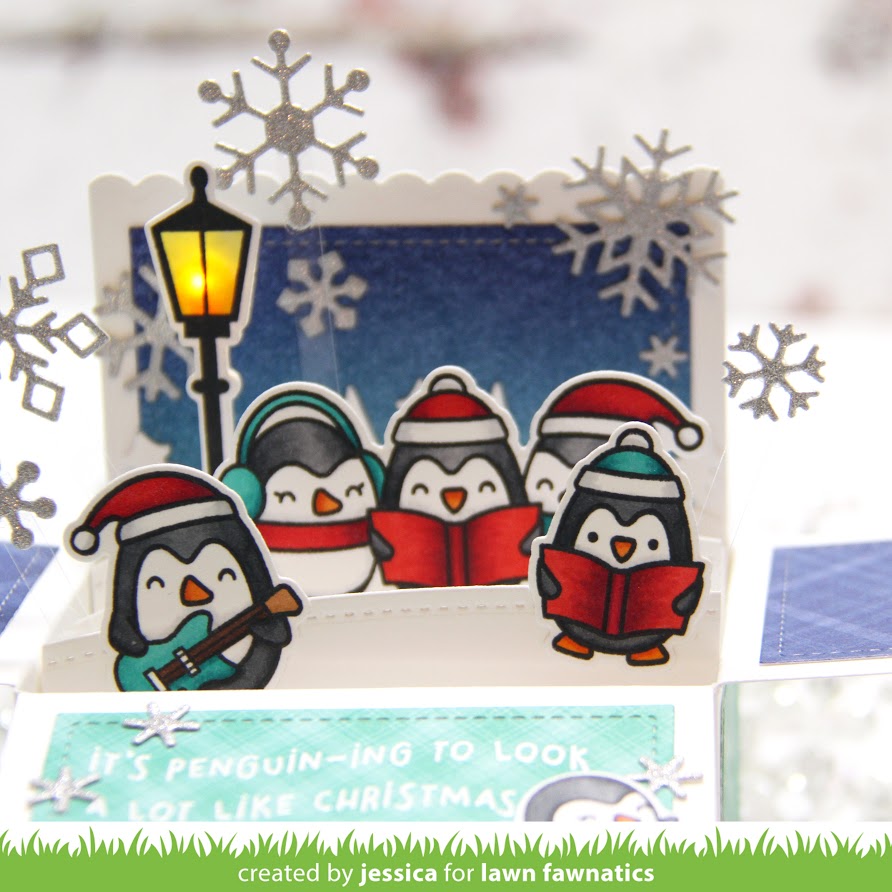
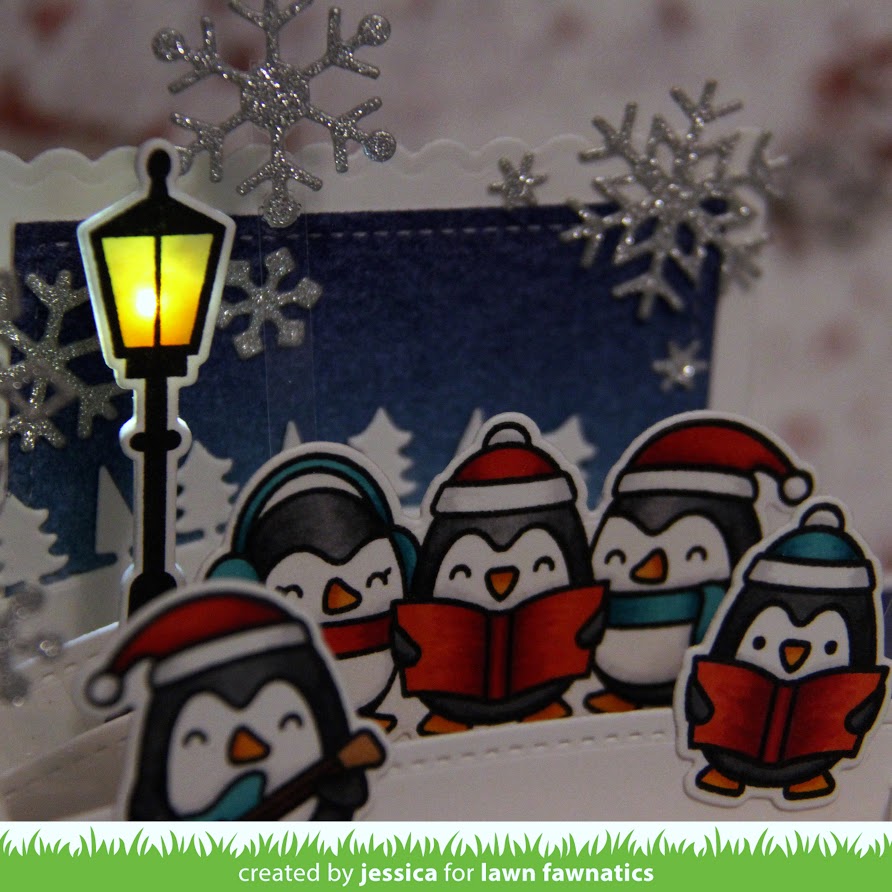
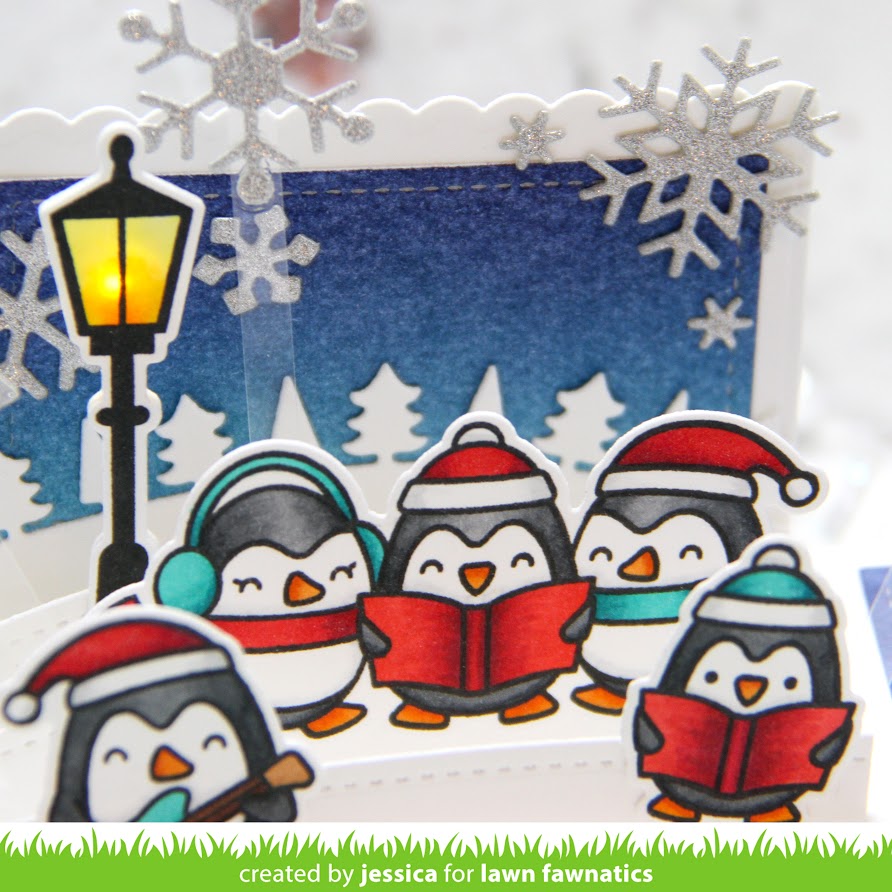
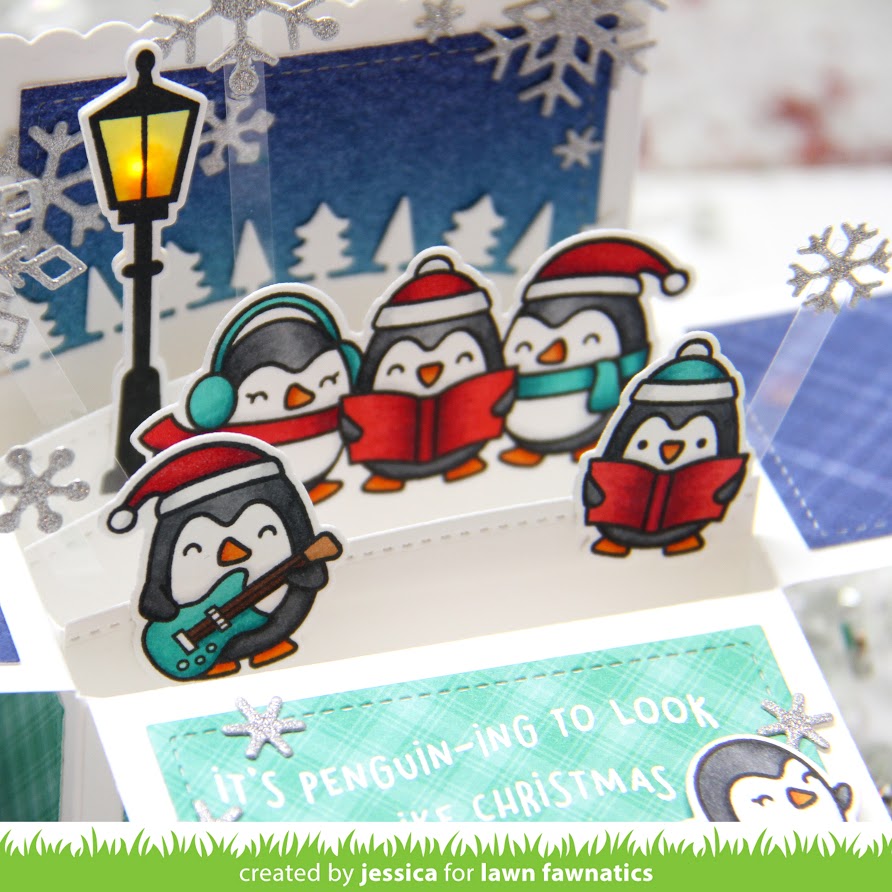
Good morning!  Jess here with a card for our Create a Scene challenge!  When I think of Lawn Fawn I always think of scene cards because there are so many fun ways to use their stamps and dies to create seasonal scenes, underwater scenes, holiday scenes, and more!  Today I decided to create a snowy Christmas scene!

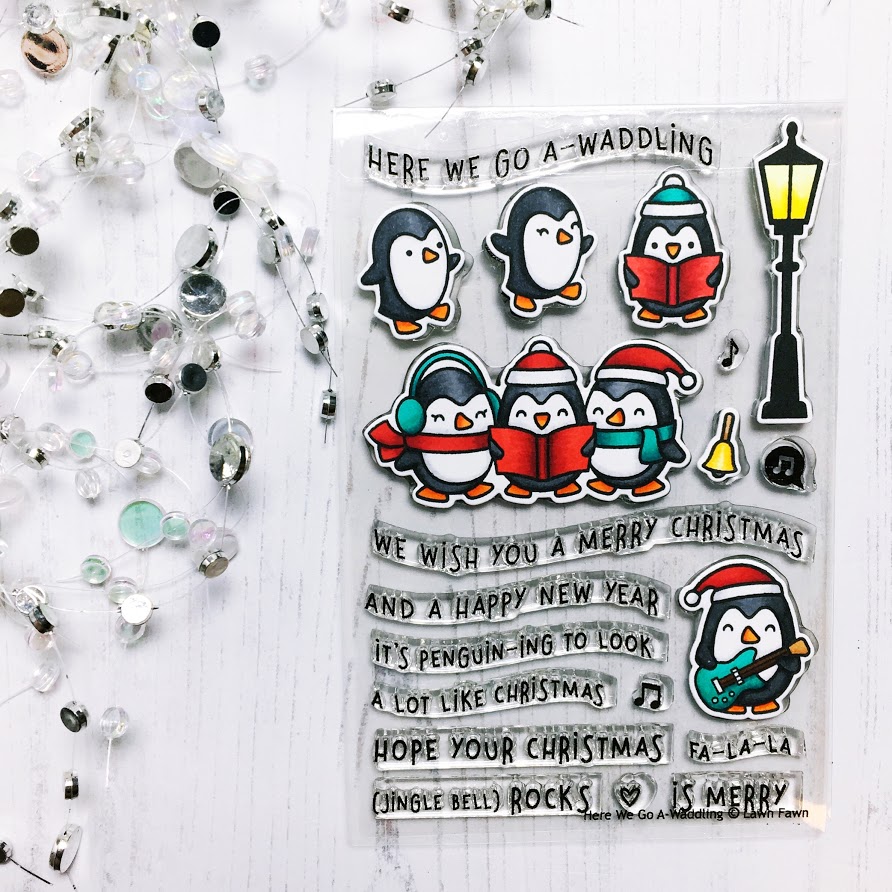
I started by stamping the adorable penguins from Here We Go A-Waddling with Copic friendly ink, coloring them with Copic markers, and die-cutting them with the coordinating dies.

Next I die-cut all of the components of the Scalloped Box Card Pop-Up using white cardstock and the Perfectly Plaid Chill Collection pack in Om and Take Ten.  I also blended chipped sapphire and peacock feathers distress ink onto a piece of watercolor paper and die-cut it with one of the stitched panels to create the background for my scene.  I stamped the sentiment onto the stitched panel and heat-embossed it with white embossing powder.  I also die-cut the Forest Border with white cardstock to add some dimension to my scene and die-cut the Simple Stitched Hillside Borders with white cardstock to create snowy banks for my singing penguins.  Finally I die-cut the Mini Stitched Snowflakes with silver glitter cardstock.

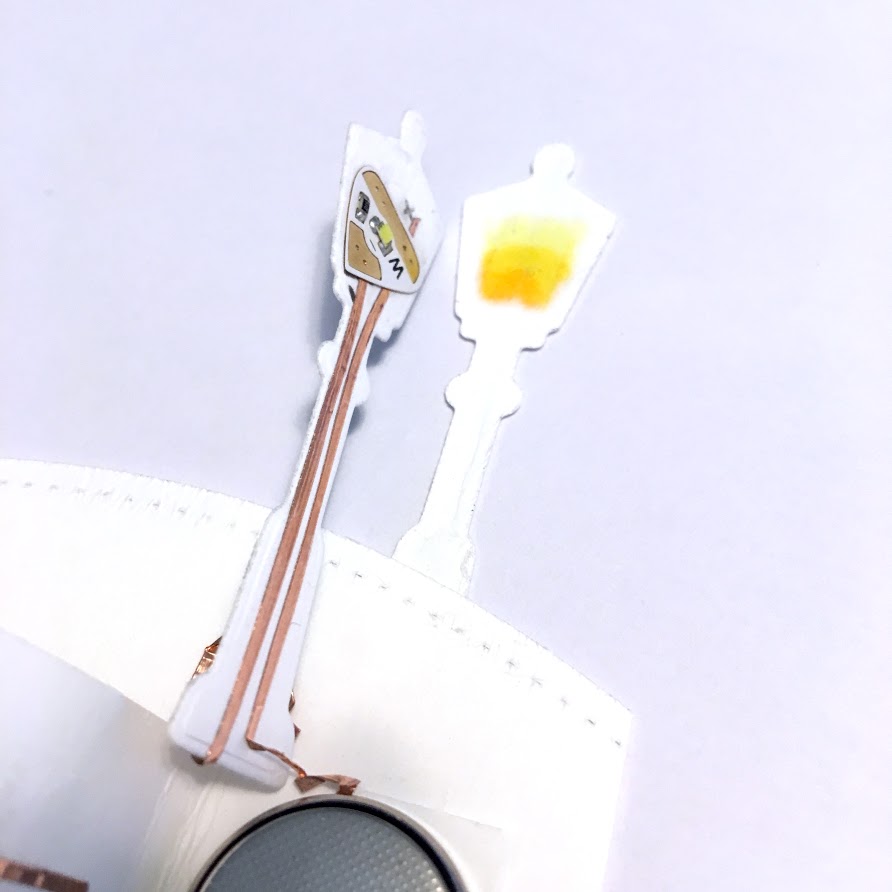
Next I decided to light up my streetlight with an LED sticker.  I built up a circuit on a second die-cut lantern and then adhered it to the back of the Copic-colored lantern.

I created the circuit with space to insert a tab of cardstock so that I could break the circuit and conserve the battery for mailing.


Finally it was time to build my scene.  I adhered the stitched hillside dies to the panels inside the shadow box and adhered the forest border to the background panel.  I adhered all the penguins and the lantern with ATG adhesive and then added a few snowflakes to the shadow box.  To finish the card I added a few snowflakes to strips of acetate and adhered those to the back of the hillside borders to create the illusion of falling snow!

And that’s it!  You’ve got one more weekend to get crafty and create some fun scenes for our challenge!  Thanks so much for stopping by and have a fantastic day!

Jess

A Forest Feast Scene on a Gift Tag!

We hope you have been enjoying this fun challenge theme! Our Create a Scene challenge is open until Sunday September 17 at 11:59 PM ET

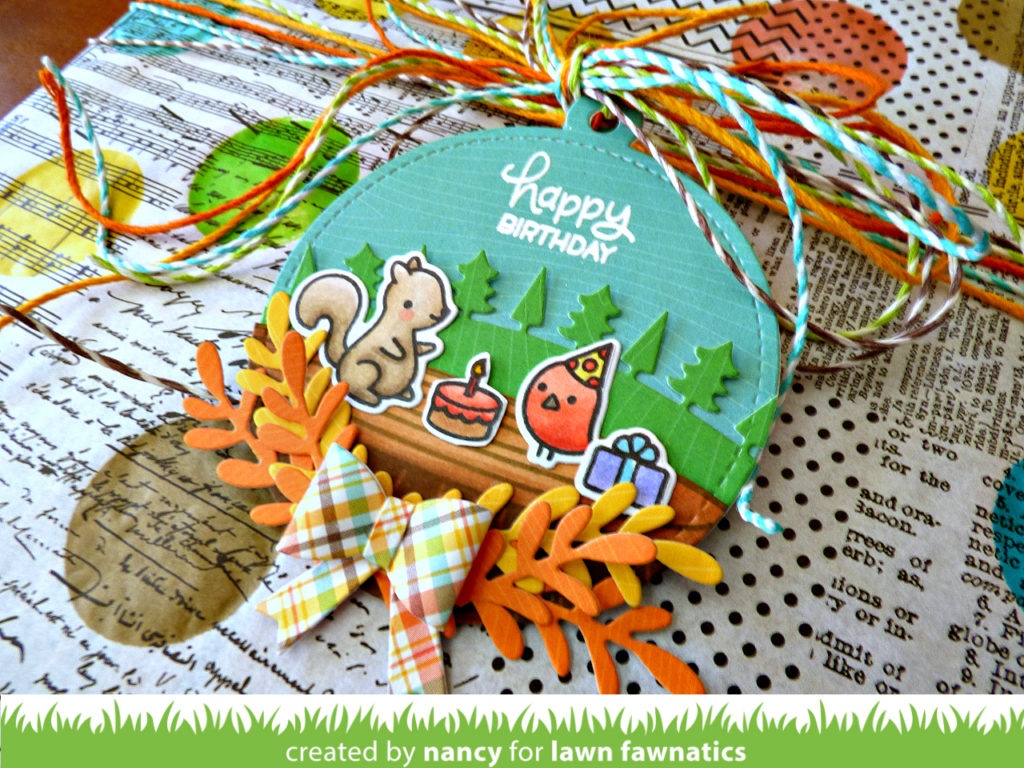
A scene can be small enough to fit on a tag! Making cute little vignettes on tags and small gift cards is a fun and quick way to create a scene!

I thought I’d pop in to share a gift tag I made to accompany a birthday gift!

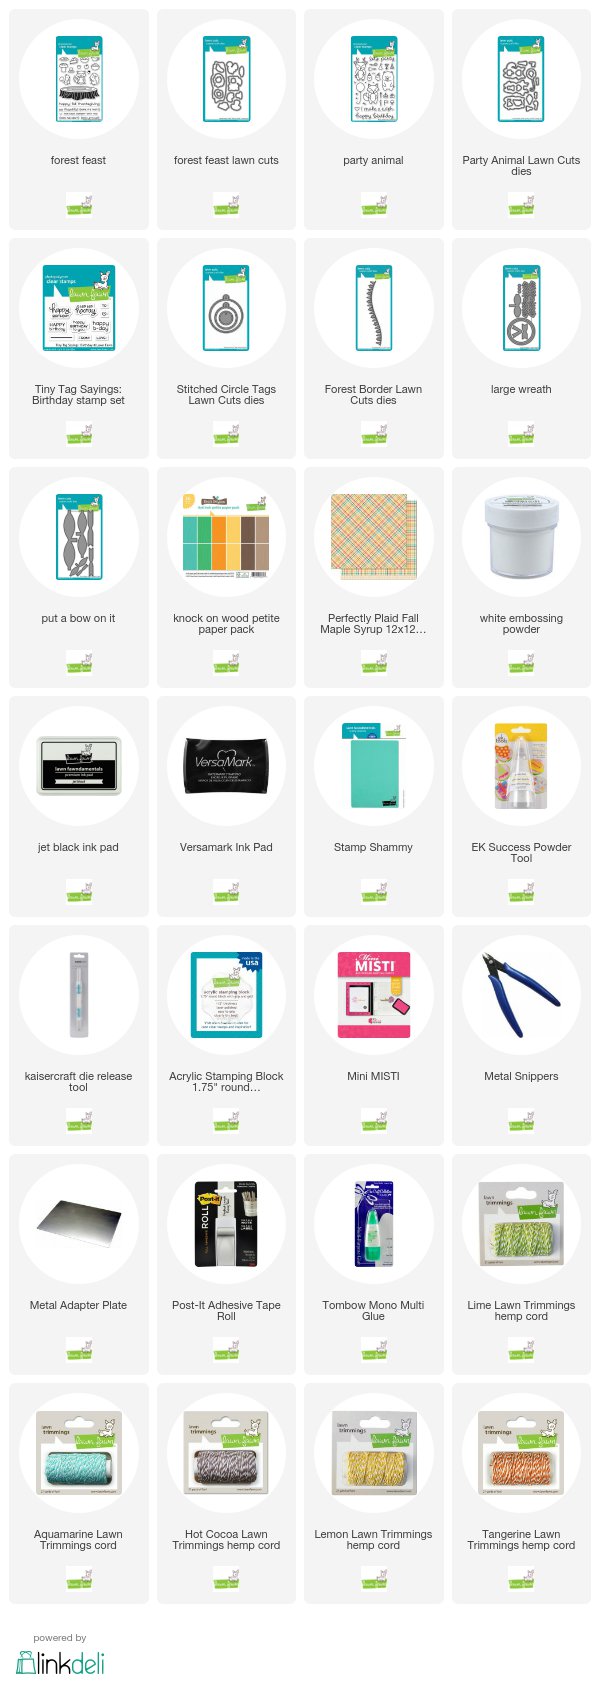
I love little projects like this where I can use lots of different supplies! I started out with the larger Stitched Circle Tag die cut from Knock on Wood 6×6 paper in teal and green then I used Forest Border to die cut the green tag. I stamped and colored images from our new Forest Feast and also from Party Animal with Copic markers then assembled the scene on the layered tag. To embellish a little more I added some branches from Large Wreath cut from more Knock on Wood 6×6 paper and finished with a bow (from Large Wreath). The sentiment, from Tiny Tag Sayings: Birthday is white embossed. I combined a bunch of different Lawn Trimmings cord in Fall colors to tie up the tag on the gift!
I hope you will join us for our Create a Scene Challenge!

Thanks for your visit! Happy Crafting!
nancy