Hi friends, it’s Christy here with another card for our Birthday Challenge! I hope you’re all doing well. Today I’m bringing you my first Magic Iris card! I featured the new Really High Five along with Butterfly Kisses. These sets work so well together! I stamped all the images I wanted to use with Jet Black Ink and colored them with Copic markers, then trimmed them out with the matching dies.
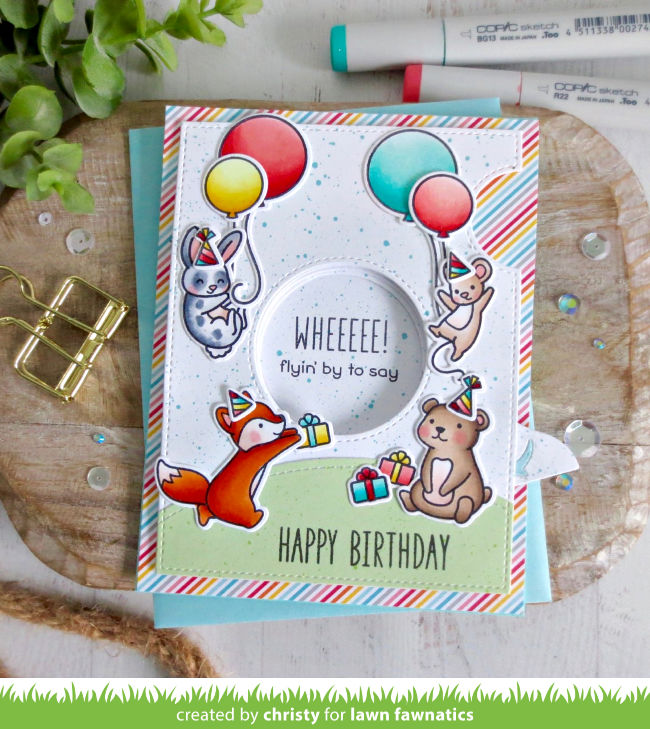
Next I created the Magic Iris mechanism, by following the excellent instructions in Kelly Marie’s Intro to Magic Iris video on the Lawn Fawn YouTube channel. I’ll make a confession — interactive cards intimidate me. But this one really is as easy to put together as it looks. The one you’ll see in my video tutorial is my very first attempt, and it works perfectly!
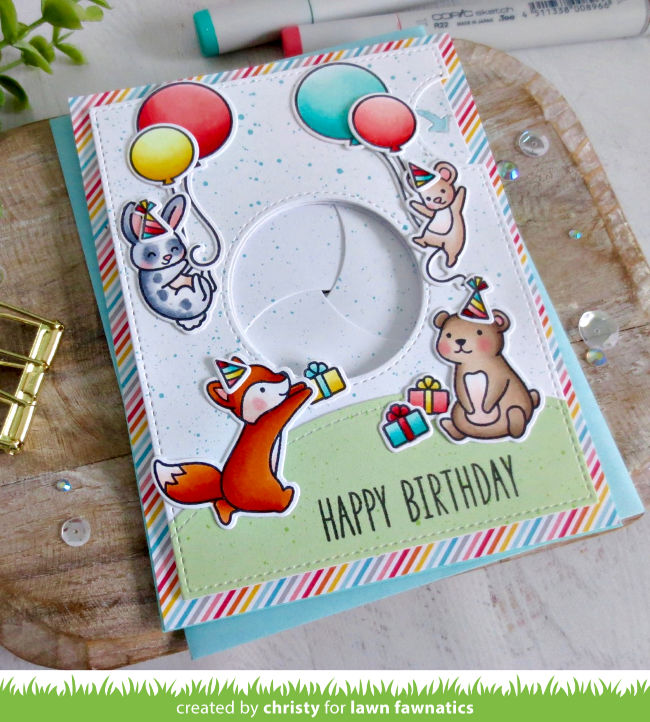
Once I had the mechanism, I die cut the Magic Iris Add-on out of some Spiffy Speckles patterned paper. I added the grass using the Simple Stitched Hillside Borders and stamped part of the sentiment at the bottom. I stamped the rest of the sentiment in the center part of the Magic Iris Add-on die-cut, and then adhered my images to the scene.
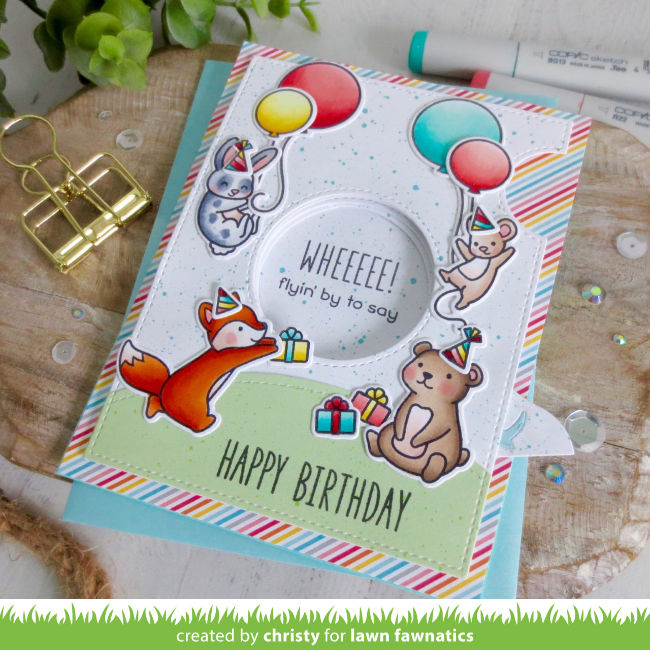
I created a card base out of Mermaid cardstock and covered it with a sheet of Hello Sunshine Remix patterned paper, Then I attached the magic iris to the back of the focal panel with tape runner adhesive. With the magic iris in the open position, I fit the center circle and attached it to the card base. Then I popped the focal panel up with a thin strip of foam tape at the top and bottom.
And that’s it! As I mentioned, I’ll have a video tutorial on how this card came together over on my channel, Christy Gets Crafty. And if you’d like to create something for our Birthday Challenge, you still have time to play along! Click HERE for the challenge post!
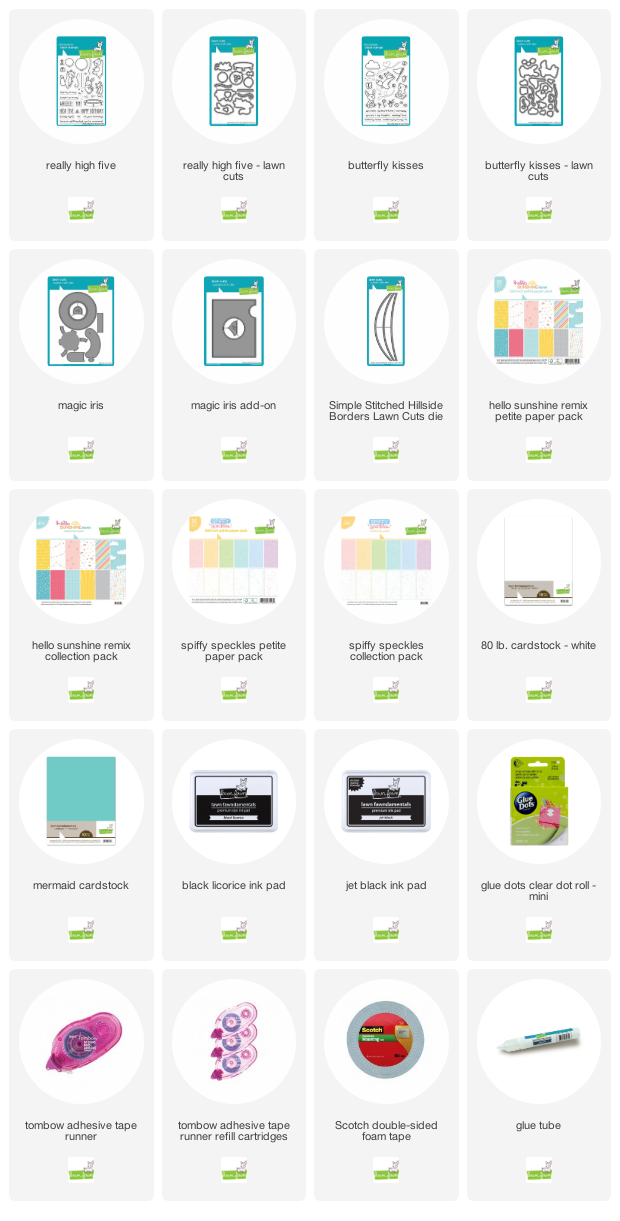
Supplies:
Happy crafting, Fawnatics friends!

